Backpacking in Denali National Park: Routes, Permits, & Gear

Backpacking in Denali National Park is not your average wilderness adventure. It’s a raw, untamed experience that asks as much from you as it gives. This isn’t a park full of winding trail systems, coffee stands, or scenic overlooks you can drive to.
It’s six million acres of true backcountry, much of it trail-less, where you rely on your own judgment, navigation skills, and respect for the wild to guide you. And that’s exactly what makes it worth it!
We’ve driven the full Park Road, camped in both the frontcountry and backcountry, stood on ridgelines miles from the nearest person, and felt the ground shake under our feet when a grizzly crossed a dry riverbed in the distance. We’ve also swatted mosquitoes like maniacs, spent hours navigating willowy brush, and debated whether to cross glacial rivers with numb ankles.
This guide is built to walk you through the real logistics of backpacking in Denali National Park. We’ll cover how the park’s permit and unit system works, where you can (and can’t) go, what routes to consider, how to stay safe in wildlife country, what gear you actually need, and what kind of challenges to expect out there.
We’ve also included detailed answers to your most popular questions and provided a full packing list at the bottom of this post!
Where You Can Go: Frontcountry vs Backcountry in Denali
Before you plan anything, you need to understand how Denali is structured. Unlike most U.S. national parks, Denali doesn’t have a network of interconnected trails or backcountry campsites.
Instead, the park is divided into zones, called units, and most of the backcountry is navigated entirely off-trail.
Frontcountry
The frontcountry is concentrated within the first 15 miles of the Park Road. This area is accessible by personal vehicle and contains visitor centers, a few maintained trails, campgrounds, and ranger services.
What to expect in the frontcountry:
- Popular trails like Horseshoe Lake, Mount Healy Overlook, and Triple Lakes
- Developed campgrounds (Riley Creek, Savage River)
- Shuttle buses, restrooms, and signage
- Day hikes only unless you’re booked at a campground
If you’re staying in the frontcountry, you don’t need a permit to hike, but you can’t wild camp here. All overnight stays must be in designated campgrounds.
Backcountry
Everything beyond mile 15 of the Park Road is considered backcountry. Past this point, personal vehicles aren’t allowed so you’ll need to ride a shuttle bus. The wilderness here is vast, unmarked, and largely untouched.
Denali’s backcountry is divided into 87 numbered units, each with a limited number of permits per night. There are no trails, no designated campsites, and very few human-made markers. It’s just you, the terrain, and your chosen route.
👉 Here’s more information on how to secure a Denali Backcountry Permit.
You’ll plan your trip by selecting a combination of available units and mapping a route between them. This means you need to be comfortable with navigation, river crossings, and finding your own flat (and safe) places to camp.
How the Shuttle System Works
The Denali Transit Shuttle, also known as the Green Bus, is the primary way to access the backcountry. Personal vehicles can only go to mile 15 (Savage River), but the Green Bus can take you all the way to Wonder Lake at mile 85 (in 2026, the buses are stopping at Mile 43 due to the ongoing landslide repairs).
Key points:
- You can request to be dropped off or picked up anywhere along the road
- You’ll tell the driver your planned mile marker (and they’re great at helping with this)
- Be ready when the bus comes since they don’t wait around for late hikers
- You must plan your return pickup in advance and flag the bus when it approaches
This is important: you can’t rely on cell service or just wave someone down last-minute. If you’re late or in the wrong place, you may be hiking a lot farther than planned.
Planning shuttle logistics is a key part of your backpacking route, especially since drop-offs and pickups may not be at formal stops. Always account for timing, distance from your final campsite, and weather delays.
👉 Pro Tip: We also take a photo of the current bus schedule at the Denali Bus Depot before boarding to ensure we know when and where to expect the buses!

Backpacking Permits in Denali National Park
Every overnight backcountry trip in Denali requires a free, in-person permit, and there’s no way around this. You can’t reserve these online (except in rare pilot programs), and you won’t get one without attending a safety orientation.
What’s included in the process
- Backcountry orientation: You’ll learn about bear safety, terrain, camping best practices, and rules for the specific zones you’re entering.
- Bear safety video: Mandatory for all backpackers.
- Route building: You’ll work with a ranger to choose which units you’ll travel through, based on availability.
- Permit & paperwork: Once your units are confirmed, you’ll receive your printed permit.
- Gear issue: The park provides a free bear-resistant food container (BRFC), it’s mandatory.
Tips for getting your permit
- Arrive at least one day before your trip to ensure you get your desired units
- Show up early in the day to get a better chance at open units.
- Have 2–3 backup routes planned in case your first choices are full.
- You’ll need to carry all your trash out with you – no dumping or leaving anything behind.
Once you’re permitted and geared up, the rangers will help you time your shuttle departure to match your entry unit. This part of the process is actually really fun! You’ll chat with other backpackers, learn about current conditions, and start mentally preparing for the days ahead!

Backpacking Routes in Denali National Park
Unlike most national parks, there are no named trails or signed routes once you leave the frontcountry. So what exactly does “a route” mean here?
In Denali, a backpacking route is a unit-to-unit plan built around natural topography (think ridgelines, drainages, gravel bars, and tundra benches.) Your route will depend on your shuttle drop-off, time frame, physical ability, and comfort with navigation.
Here are six unit-based routes that give a solid overview of what Denali backpacking is really like, ranging from beginner-friendly to remote and rugged.
1. Cathedral Mountain Circuit (Units 12 and 11)
- Duration: 1–2 nights
- Distance: ~10–14 miles
- Terrain: Open tundra, dry creekbeds, some low ridges
- Difficulty: Moderate
- Navigation: Good visibility, gentle slopes
Why we like it:
A great starter route. You’re close enough to the Park Road for a fast exit if needed, but far enough out that you’ll feel like you’re deep in it. Cathedral Mountain’s ridges make for excellent orientation, and the valleys offer flat camping spots with solid water access.
2. Teklanika Lowlands (Units 26 to 30)
- Duration: 2–3 nights
- Distance: ~18–25 miles
- Terrain: Dense willow brush, wide gravel bars, braided rivers
- Difficulty: Challenging
- Navigation: Moderate to hard due to thick brush
Why we like it:
It’s a tough one, but worth it if you want solitude. You’ll likely cross the Teklanika River, which is a rite of passage in Denali backpacking. The brush can be intense so expect slow travel, but you’re rewarded with frequent wildlife sightings and remote vibes.
3. Stony Dome Traverse (Units 32 to 36)
- Duration: 3–4 nights
- Distance: ~22–30 miles
- Terrain: Alpine tundra, steep scree, narrow ridgelines
- Difficulty: Advanced
- Navigation: Requires excellent visibility and confidence in topography reading
Why we like it:
The views are unbelievable. You’re high up, walking with the kind of perspective that reminds you just how massive Denali is. This route gives you that “top of the world” feeling, with good potential for seeing Dall sheep, caribou, and golden eagles.
4. Wonder Lake Basecamp (Unit 43)
- Duration: 2–3 nights
- Distance: Flexible day hikes from basecamp
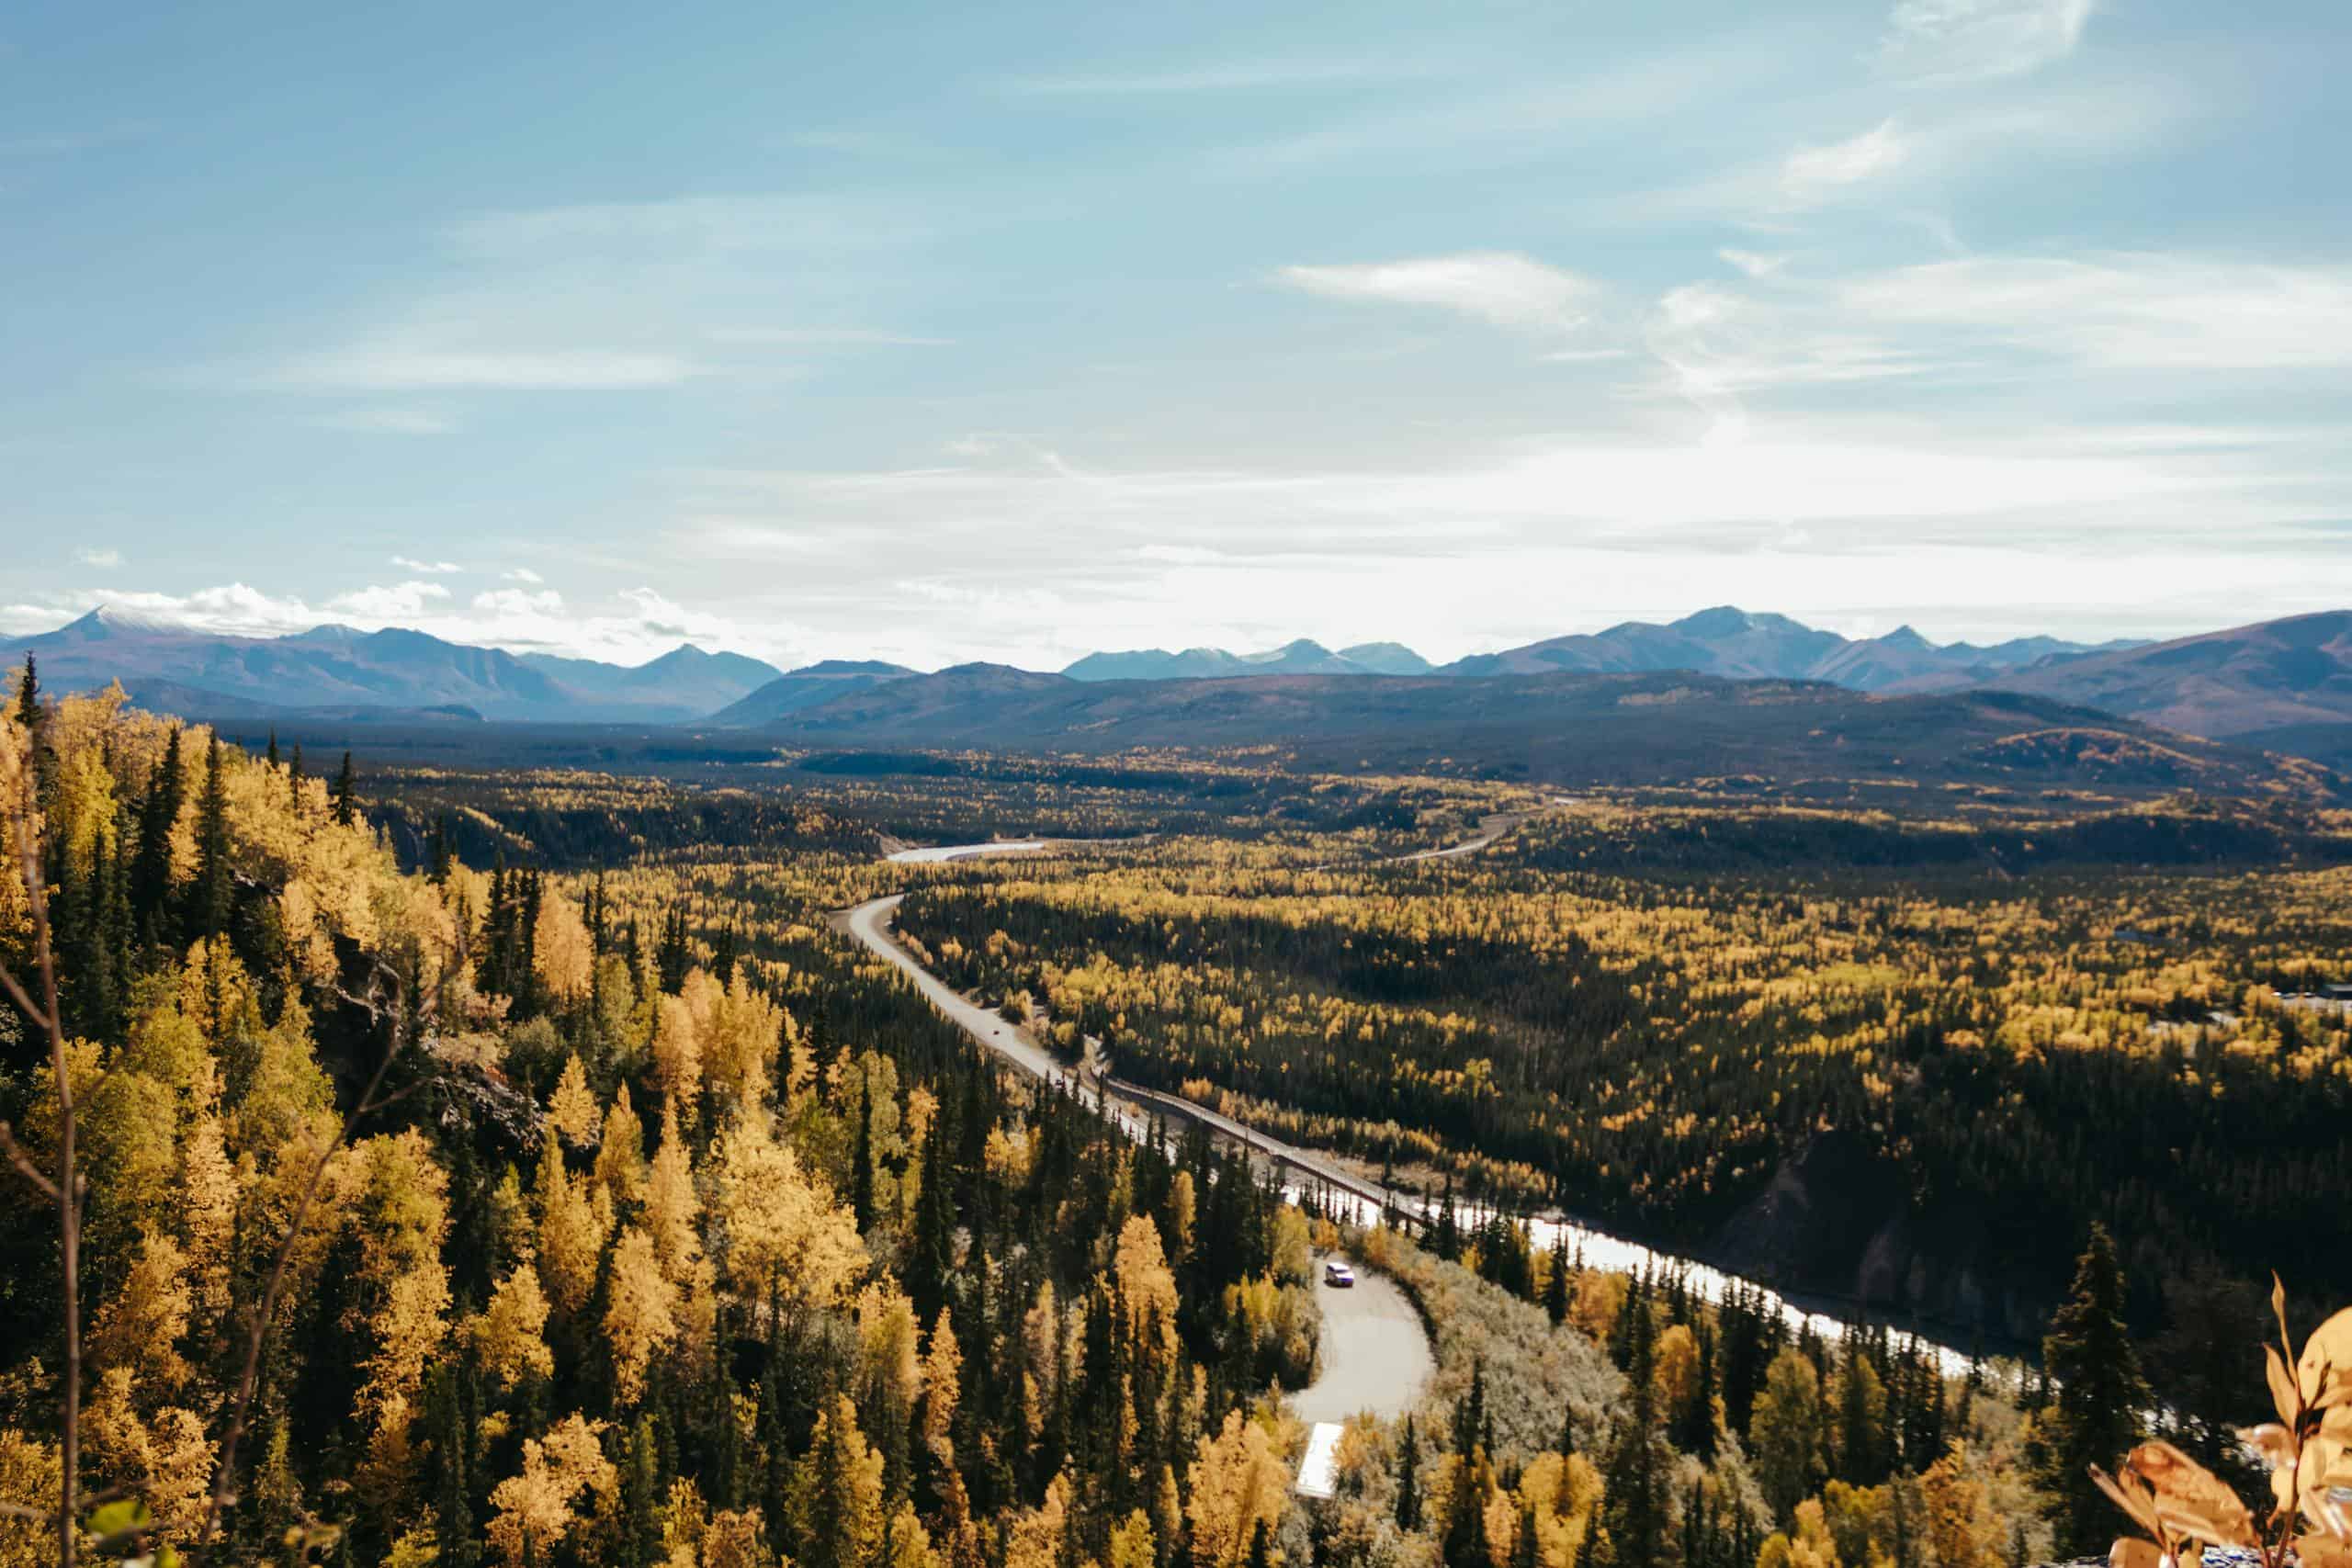
- Terrain: Rolling tundra, willow thickets, lakes
- Difficulty: Easy to moderate
- Navigation: Straightforward with decent weather
Why we like it:
This is a great option for photographers, wildlife watchers, or anyone who wants to ease into Denali backpacking. You can set up a basecamp and take light day hikes to explore without a heavy pack. If the weather cooperates, you’ll get amazing views of Denali itself.
5. Polychrome Pass Ridgewalk (Units 9 and 10)
- Duration: 2 nights
- Distance: ~12–18 miles
- Terrain: Open ridges, exposed alpine, some moderate elevation gain
- Difficulty: Moderate
- Navigation: Easy with clear skies, risky with fog
Why we like it:
You’ll avoid a lot of the infamous brush and stick to firm footing. This is one of our go-to options when we want a visually rewarding but less physically punishing experience. It’s also a great place to spot wolves from a distance if you’re lucky.
6. Remote East Fork River Valley (Units 37–39)
- Duration: 3–4 nights
- Distance: ~25–30 miles
- Terrain: Gravel bars, wide valleys, multi-channel river crossings
- Difficulty: Challenging
- Navigation: Moderate with river route-finding
Why we like it:
This one gets you away from most of the backpacker traffic. You’ll spend a lot of time navigating the valley floor and need to time your river crossings well, but it’s scenic and wild and ideal for experienced folks looking to go deeper.
👉 Important Note: As of 2026, the Denali Park Road is still closed at Mile 43 due to the ongoing Pretty Rocks Landslide. This means you can’t access backcountry units beyond that point unless you’re part of a special permitted expedition or authorized program.
The park and NPS are actively working on a long-term solution with plans to reopen the road by 2026, but in the meantime, all backpacking routes must begin and end within Mile 0–43.
Wildlife Safety in Denali’s Backcountry
Denali is known for its wildlife and when you’re backpacking, you’re right in the middle of it.
Grizzly Bears & Black Bears
- You’ll be issued a bear-resistant food container (BRFC) at permit pickup. It must be used for all food and scented items (toothpaste, chapstick, trash, anything with a smell).
- Cook and store your food at least 100 yards (300 feet) from your tent. Denali teaches the “triangle method”: sleep, cook, and store in a triangle pattern with good visibility.
- Make noise in dense brush or when visibility is low including talking, clapping, or saying “Hey bear!” is standard practice.
We’ve seen bears at a distance and up close and we’ve never had an aggressive encounter. The key is staying alert, keeping clean camps, and never surprising a bear.
Moose
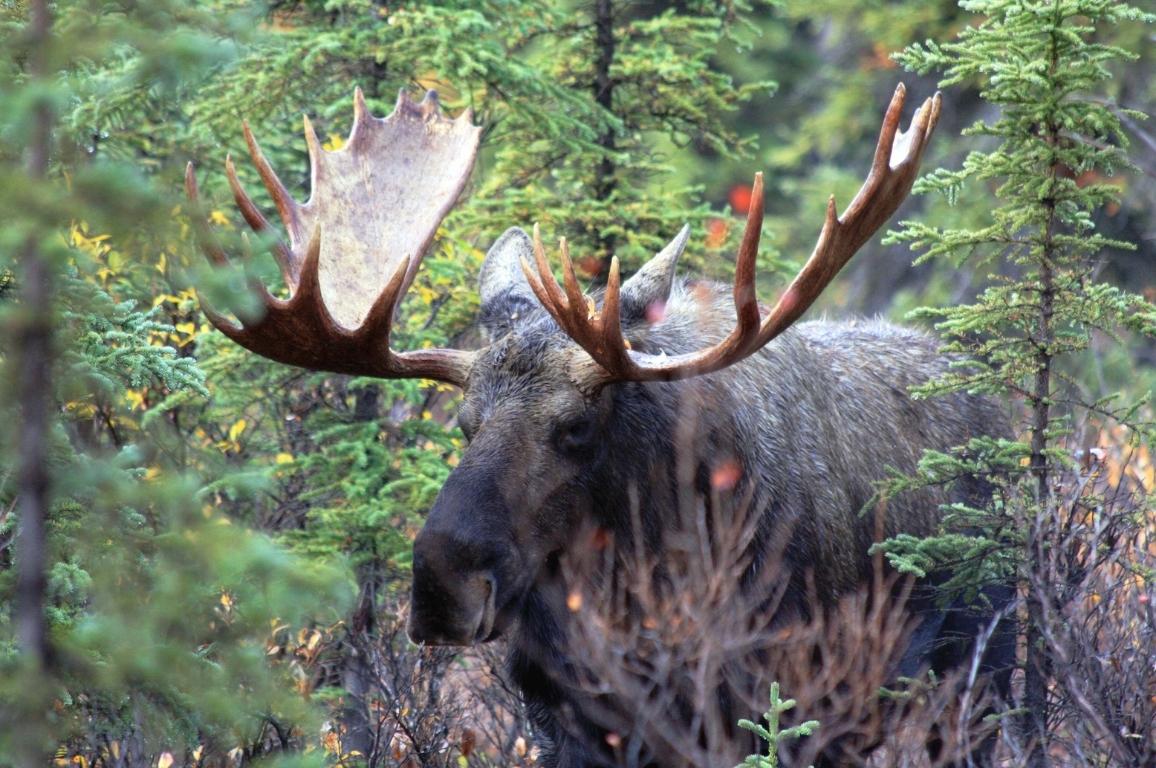
People worry about bears, but moose are actually far more dangerous. They can be aggressive, especially mothers with calves, and they will run at you if they feel you are too close.
- Never approach a moose or try to get closer for photos
- Back away slowly if one starts to move toward you and create as much distance between yourself and the moose as possible
- Use cover like trees or brush if a moose becomes defensive
Moose often use the same drainages hikers do, so stay sharp in low-visibility zones.

Weather, River Crossings, and Real Terrain Advice
Weather
- Summer temps range from the 40s to 70s (°F) during the day and often drop to near freezing at night.
- Storms roll in fast. Wind, fog, and cold rain are common even in peak season.
- Bring extra dry layers, a real rain jacket (not a windbreaker), and gear that’s proven itself in bad conditions.
River Crossings
This is a huge part of Denali backpacking and a common reason trips go sideways.
Our best advice:
- Cross early in the day when water levels are lowest
- Look for the widest, shallowest braid, not the narrowest (which is usually deepest)
- Unbuckle your hip belt before entering the water in case you fall
- Use trekking poles to probe depth and stabilize yourself
- Avoid crossing above your knees in fast-moving water
If a river looks sketchy, turn around or change your route. We’ve done it more than once, and it’s always the right call.
Terrain
Let’s be honest: Denali’s terrain is hard. There’s no trail to follow, and your pace will almost always be slower than you think. Hiking in Denali looks easier on a map than it feels on the ground. You’ll face wet, uneven, brushy terrain that slows you down fast, so there’s no such thing as easy miles here.
What to expect:
- Tussocks and tundra sponge: Soft, uneven ground that feels like walking on a soaked trampoline
- Alder and willow thickets: Dense, grabby brush that makes bushwhacking exhausting
- Gravel bars: Often your best friend. Firm, flat, and relatively fast when the water’s low
- Alpine ridges: Great views and solid footing, but fully exposed to wind and storms
- Marshy lowlands: Sneaky wet spots that soak your boots and make camp setup tricky
👉 Pro Tip: It’s always best to plan your routes around terrain first, not distance. Even 6–8 miles in Denali can take a full day if you’re crossing the wrong type of ground.

Backpacking Gear Packing List for Denali National Park
You don’t need the newest ultralight setup to backpack Denali, but you do need gear that can take a beating. This isn’t the trip to gamble on questionable zippers or that jacket that “should be waterproof.” You’ll face brush, weather, and wet ground, and there’s no gear shop to bail you out mid-hike.
Here’s what we always pack, and what we tell every serious Denali hiker to bring:
Essentials
- Backpack (55–70L) – Enough room for bulkier clothing, bear canister, and food for 3–5+ days
- 4-season tent or 3-season with full coverage fly – Must stand up to wind and rain; no single-wall or trekking pole shelters here
- Bear-resistant food container (BRFC) – Required and issued free by the park at permit pickup
- Sleeping bag rated to at least 20°F – Temps can drop even in July; we often use 15°F bags just in case
- Sleeping pad (insulated) – Cold seeps up fast from tundra ground; R-value of 4+ is a good target
- GPS + paper topo map + compass – You’ll need all three, and you need to know how to use them
- Trekking poles – Essential for river crossings, steep sections, and tired knees
- Headlamp + extra batteries – Especially useful in late August when darkness returns
Clothing
- Waterproof rain jacket and pants – No, not “water-resistant.” You’ll want Gore-Tex or a similar membrane that’s been field-tested
- Wool or synthetic base layers – No cotton, ever!
- Puffy jacket (down or synthetic) – Nights get cold fast, and you’ll need something warm for camp
- Windbreaker or softshell layer – Optional, but great for daytime hiking when storms roll through
- Fleece or mid-layer – A cozy backup in case your puffy gets wet
- Camp clothes – Lightweight and keep these dry at all costs
- Wool socks (3–4 pairs) – Rotate daily and keep one clean/dry pair just for sleeping
- Hat, gloves, buff or neck gaiter – Yes, even in summer
- Bug net (head) + DEET or picaridin spray – Don’t underestimate the bugs in July

Cooking & Water
- Lightweight stove + fuel – Canister stoves like Jetboil or PocketRocket work well
- Lighter + waterproof matches – Always bring a backup ignition source
- Pot, spoon, cup or mug – Keep it simple and durable
- Freeze-dried meals or calorie-dense food – Plan for 3,000–4,000 calories/day
- Water filter or treatment drops – Plenty of flowing water sources, but always treat it
- At least 2–4L water capacity – We carry a hydration bladder plus a soft bottle or Nalgene
Navigation & Emergency
- Topo map + compass – Mandatory, even if you have GPS
- GPS device or phone with Gaia/Guthook – Download maps offline ahead of time
- Personal locator beacon (PLB) – Not required, but we highly recommend carrying one
- Route notes or printed unit descriptions – Write them down, don’t rely solely on memory
Other Items
- First aid kit + blister treatment – Build it around your personal needs and known issues
- Repair kit (duct tape, tenacious tape, sewing needle) – Your gear will take a beating
- Trash bags + Ziploc bags – Pack out everything, including used toilet paper
- Toilet paper + trowel or wag bag – Bury it deep or pack it out, depending on terrain
- Notebook or small journal – Optional, but we always bring one to record details from the trail
- Sunscreen + lip balm – High elevation and long daylight make sunburn surprisingly common
- Sunglasses – For ridge hikes or glacier reflections
You’ll want to go lighter where you can, but not at the cost of safety or comfort. A heavier pack with warm, dry gear is always better than a streamlined kit that leaves you cold and wet. Denali rewards those who pack smart.
FAQ
What is the best time to go backpacking in Denali?
The ideal season runs from late June through early September. July and early August offer the warmest temperatures and longest days, but they also bring out the worst of the mosquitoes.
June still has snow in higher passes, and September marks the start of colder temps and increased chances of snow. As locals, if we had to pick one window, we believe July 10–August 15 is the sweet spot.
Do you need a permit to backpack in Denali?
Yes, 100%. Every overnight trip into Denali’s backcountry requires an in-person permit, plus attendance at a safety orientation. There’s no getting around it.
This system helps preserve the wilderness experience by spreading people out and protecting wildlife.
How much is a permit in Denali?
The permit itself is free, which is pretty rare for a U.S. national park.
However, you still need to pay the standard entrance fee unless you have an America the Beautiful pass. The bear canister rental is also free and mandatory for every overnight backpacker.
Is hiking safe in Denali National Park?
It’s safe if you’re prepared. Denali isn’t inherently dangerous, but the lack of trails, rapidly changing weather, and wildlife make it serious business.
You’re responsible for your own navigation, emergency planning, and gear. There’s no one out there to bail you out if things go sideways.
Can you camp anywhere in Denali?
In the backcountry, yes, but only within your assigned unit. That means no hopping between zones without approval.
You can choose your own campsite within that unit, as long as it follows Leave No Trace guidelines (camp on gravel bars or dry tundra, not spongey moss). In the frontcountry, you’ll need a reservation at a designated campground.
Can you sleep in your car in Denali?
Only in a designated campground. You’re not allowed to pull off the Park Road and overnight in your car anywhere else in the park, and rangers do patrol for this.
Riley Creek, Teklanika, and Savage River all allow vehicle-based camping with reservations.
Can you carry a gun in Denali National Park?
Yes, but with very strict limitations. Firearms are legal in accordance with state law, but you can’t use them for protection or hunting inside the park.
Denali strongly encourages carrying bear spray instead, and that’s what we always carry. It’s effective, lightweight, and doesn’t require a permit.
👉 Pro Tip: Ask any Denali Ranger why they use bear spray instead of a gun, and they’ll all tell you that it’s far more effective. Most adult grizzlies can and will continue to attack even after being shot. Bear spray, on the other hand, sends them running every time!
Are there marked trails in Denali’s backcountry?
No. Beyond mile 15, there are no maintained trails, blazes, or signs. That’s one of the things that makes Denali unique and challenging.
You’ll follow natural features like rivers and ridgelines, not a visible path. You need to be confident in route-finding and self-correction.
How do Denali’s backpacking units work?
The park is divided into 87 backcountry units, each with a strict nightly quota to limit impact.
You’ll work with a ranger to create a night-by-night itinerary that stays within these quotas. If your preferred units are full, you’ll need to adjust your route on the spot, so bring backup plans.
How do I get into the backcountry if I don’t have a car?
You can take the Denali Green Transit Bus, which runs from the park entrance to Wonder Lake. It’s actually the only way to access backcountry units beyond mile 15, since visitors aren’t allowed to drive private vehicles through the park anymore.
You’ll request a specific drop-off and pickup mile marker when you get your permit, and drivers will let you off wherever needed along the road.
What if I need to exit early due to weather or injury?
You’ll need to hike to the Park Road and flag down a Green Bus, or arrange a pickup point with a ranger in advance.
There’s no cell service inside the park, so all backups should be planned beforehand. This is where a personal locator beacon (PLB) can really come in handy if it’s a true emergency.
I fell in love with backpacking in Denali National Park because it’s simply about getting out there into the real, wild, often unpredictable terrain and learning how to move through it with intention. There are no trail signs telling you where to go, no crowds to follow, no designated campsites waiting at the end of a long day.
We’ve been lucky enough to backpack across Denali’s river valleys, ridgelines, and tundra basins. Some days were smooth and golden with wildlife sightings and sun-soaked gravel bars, while others were pure brush-bashing chaos.
But every single trip gave us something we didn’t even know we needed. That’s why we built this guide. Not to romanticize the park, but to give you a real, practical blueprint for how to backpack Denali safely, smartly, and confidently.
If you’re planning your first trip or refining your tenth, we hope this Denali backpacking guide gives you a stronger grip on what to expect, how to prep, and how to get the absolute most out of your time in this remote part of Alaska.
If you decide that this all sounds like a bit much for your first trip to Denali, check out these 11 Adventure Denali National Park Tours instead!